🛅 游戏简介
游戏特色
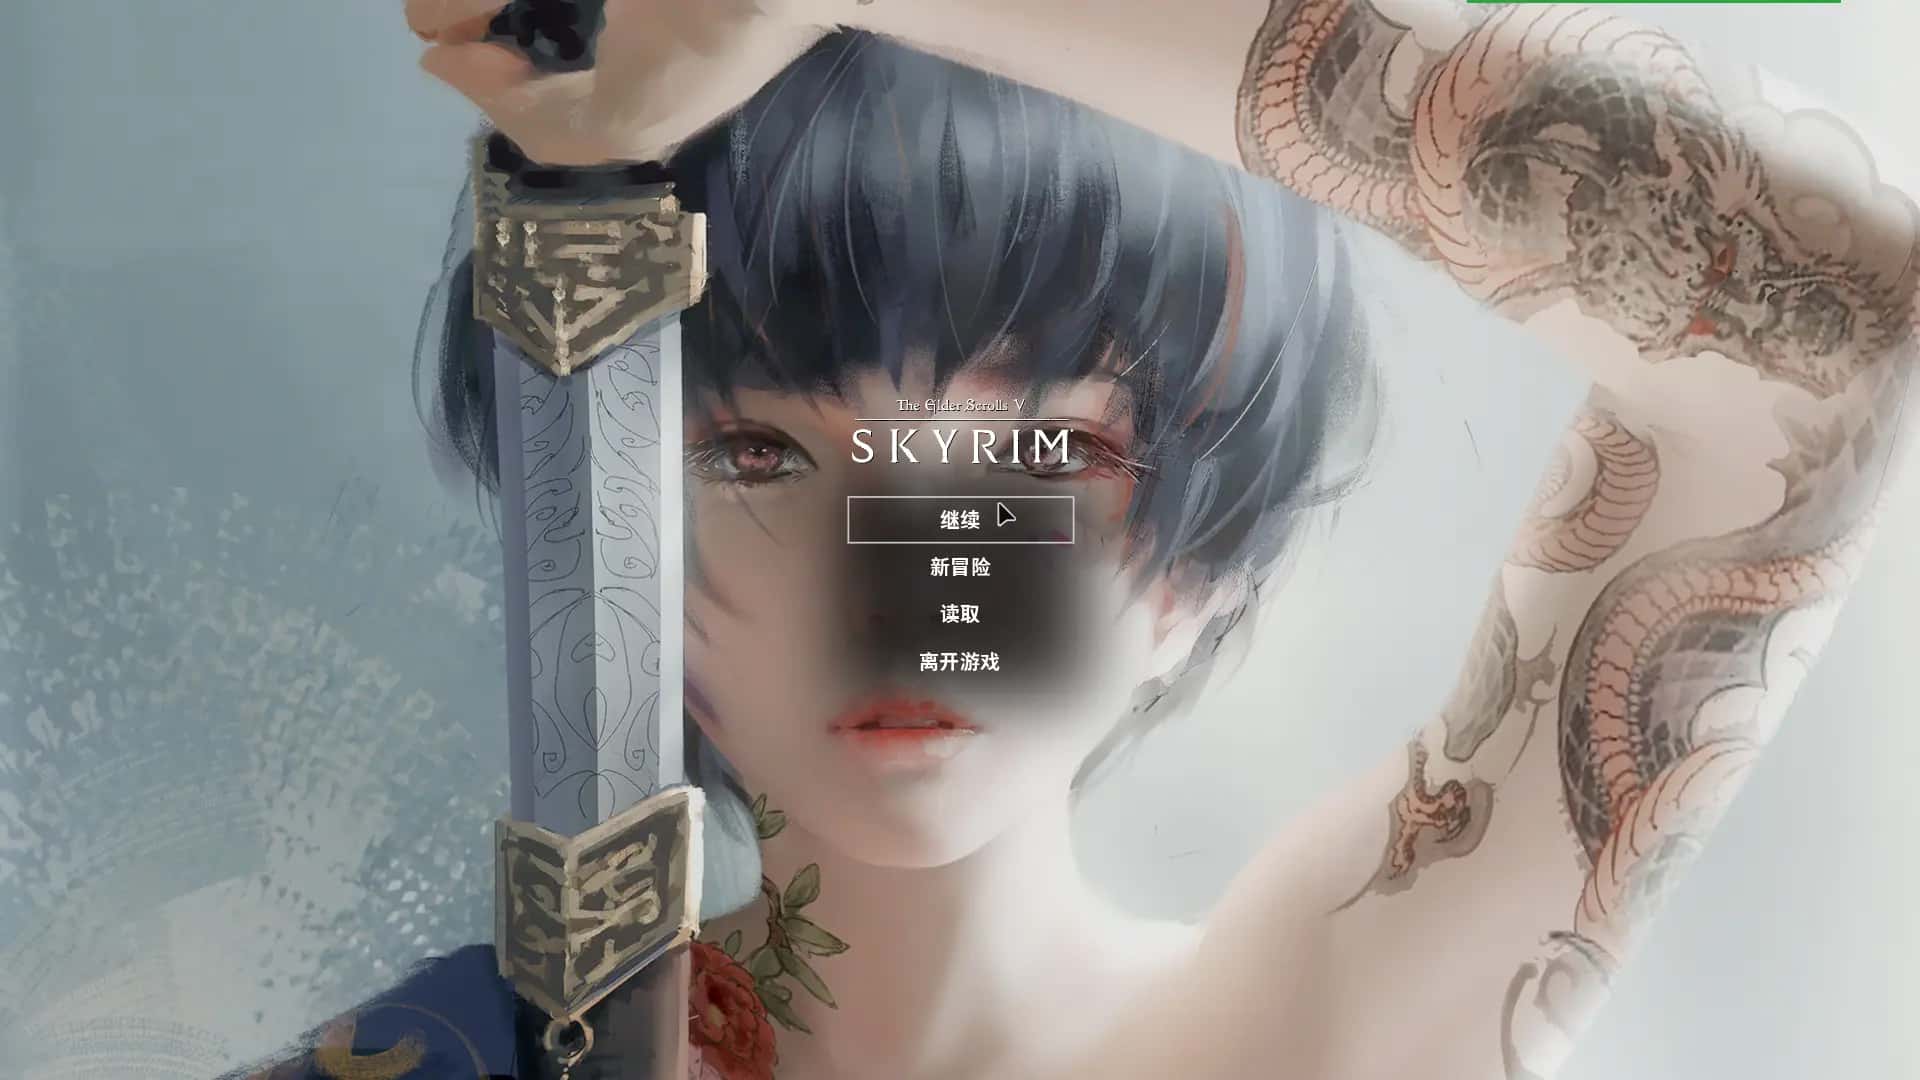
这个大家最爱的的极品3D游戏的最新整合,它又来了: 【新版】 少女卷轴5:轮回之歌 V4.0绅士整合重置超稳定版★究极画质 最强老滚整合迎来最新更新版本Ver4.0! 轮回作者十分良心,所以文件内有个赞助渠道,只要赞助少许资金, 还可以获得更加超级エロ的内部V5.0大绅士版本! 文件分为:高配版+中配版,可自由选择下载。 这位【轮回之歌】算是国内现阶段最知名的上古卷轴绅士魔改整合大佬。 23年他又双更新了最最最新的少女卷轴大绅士整合包版本! 此版本是轮回之歌上古卷轴重制版整合包V4.0高配版,无敌4K品质辗压所有~ 轮回版的特点是特别适合小白,他几乎已经解决了所有小白害怕的繁琐步骤。 MOD界面一目了然,全中文MOD界面选择明晰,而且优化好稳定不闪退。 甚至可以一键切换正常模式和各种绅士模式,想怎么玩就怎么玩!包含了400多个mod从光影到建模,更新的就离谱,已经超越个现阶段百分制五十以上的小黄鼬,伴随而来的就是离谱的游戏容量151G。(不包含任何独立随从mod)一张完整大地图 游戏还用介绍么?你是个抓根宝。要进行一场天际省的冒险。 你可以白天嘿嘿嘿晚上嘿嘿嘿,抓住个路人嘿嘿嘿,跟你的随从嘿嘿嘿,自己嘿嘿嘿。也可以用正经mod进行正常的探险。(此版本三周目通关的我也不敢说完全玩透了所有mod)少女卷轴游戏文件内也有轮回之歌的从零开始进入游戏的教学(给大佬点个赞)切记一定要按照大佬给的步骤一点一点的进行,否则就是重复枯燥的一小时以上的解压过程。 所以说少年,你是想做一个天际省冒险者勇闯古墓血战龙王奥杜因,还是想过酒池肉林的日子呢?
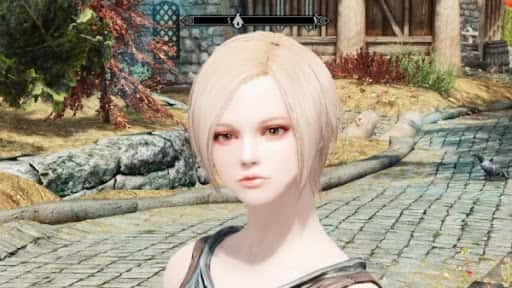
游戏截图

🌎 操作指南
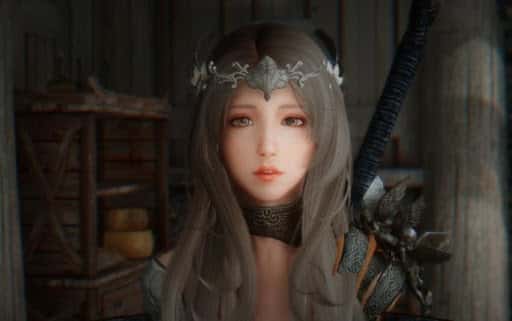
少女卷轴更新整合内所有MOD,将所有环境,画质类MOD完全替换。用xlodgen生成了新的地形,用dyndolod3.0重新刷了远景。
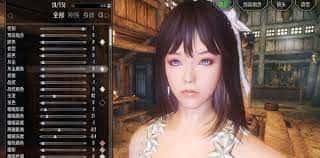
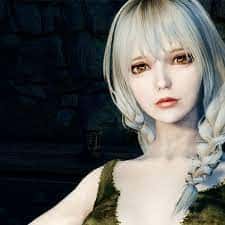
原版武器衣服的材质也全部得到了替换,差不多覆盖了原版所有材质内容,光影换成了lux,优化了动作类MOD,优化了NPC美化,大改了界面UI。
校对了整合内所有MOD的汉化,重置了整合的衣服,优化了一些绅士类MOD。新增男熊孩子美化,少女卷轴改动及新增的mod近几百项,修复了很多陈年老bug,例如黑檀头盔光头,卡索瑟姆等。